Wing Foil Guide


Categories :
Material
The choice of the wing size will depend mainly on the range of use you are aiming for. In a wind range of 10 to 20 knots, for a 70-85kg weight, we recommend a 5m. For a size lower than 70kg, rather 4m and finally for a size higher than 85kg rather 6m. In any case, it is better to increase the front wing area of the foil than to increase the size of your wing for lightwind for example.
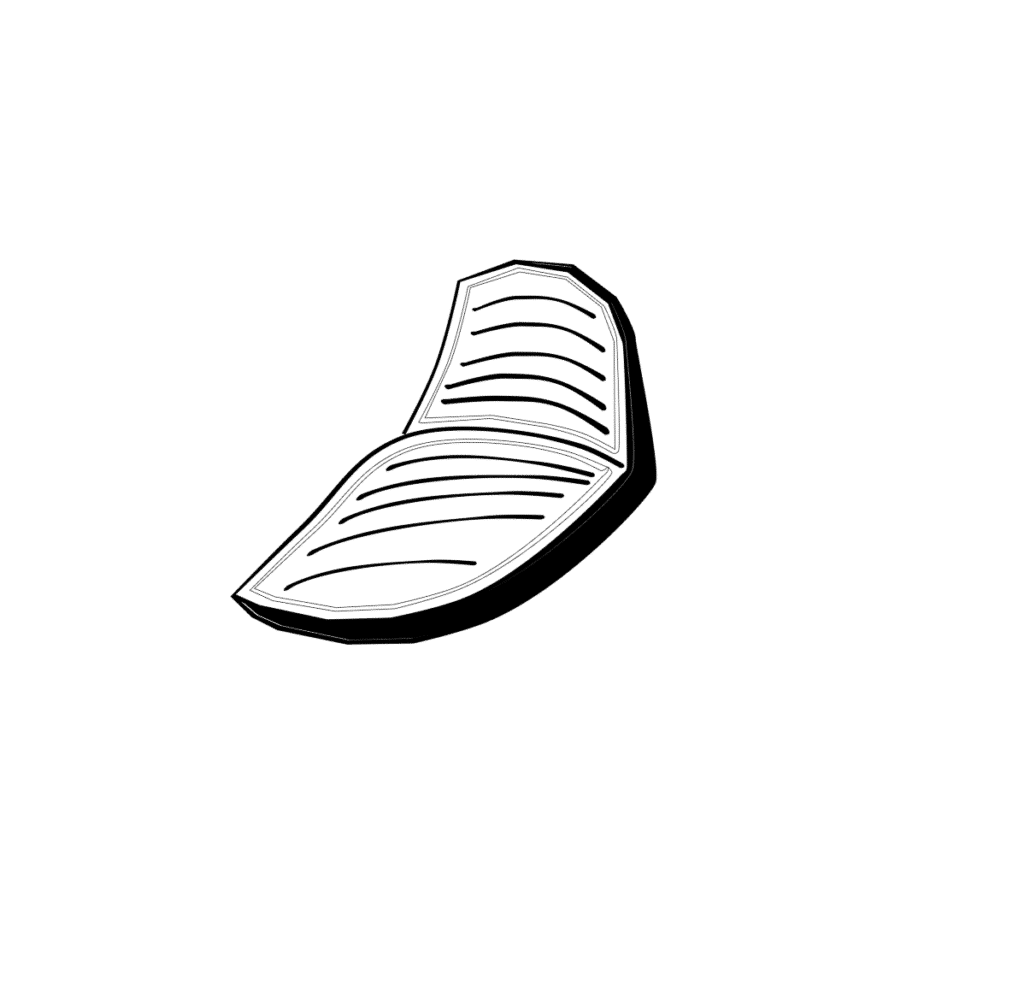
The bigger the board, the more it floats. We often advise to choose a wing foil pack, a board that is +25/30 liters compared to its own weight. Thus a 70 kg practitioner will be able to choose a board of 95 liters. This brings stability and a quick start to the schedule.
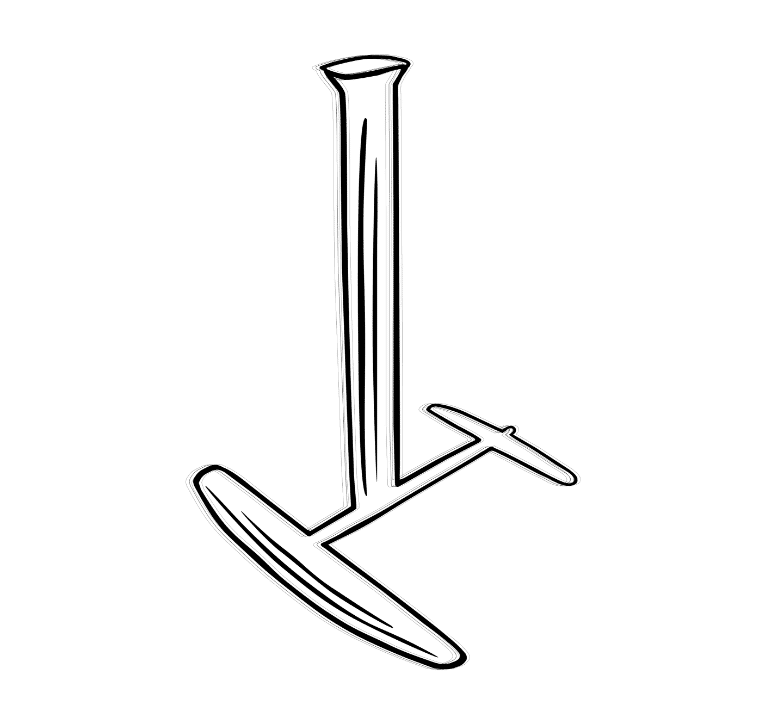
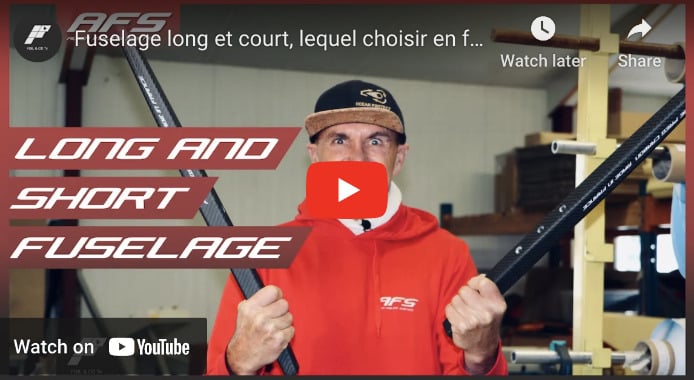
The longer fuselage will bring stability and a little more power with the same stabilizer. Someone who is a beginner, someone who is less sure of their footing, someone who has a rather long float of more than 6 feet and quite heavy, will be better off using the long fuselage. It will give him more power, more stability.
The shorter fuselage will bring the front wing closer to the stab and thus bring maneuverability. Someone who is really more experienced in the practice and who has light surf foil type boards will be able to switch to a short fuselage. This will bring a lot more dynamism in pumping and handling.
When it’s time to inflate your wing to go in the water, the one pump will save you time. Why? Well, quite simply, because with a single inflation valve and the one pump you will be able to inflate both bladders: the leading board and the central bladder. There is a transmission of air which is done thanks to the one pump.
Once your wing is well inflated, don’t hesitate to close the valve of one pump in order to keep one bladder inflated in case you pierce the other one while sailing.
When you deflate the wing, you will be able to block the air. The valve system will allow you to cut off the circulation between the center batten and the leading board (like after inflation). When you are going to store your equipment you can first deflate the leading board, roll up the ears one after the other and keep the central bladder inflated to optimize the storage
On the material aspect, you certainly know that today there are two main types of foil construction materials: aluminum and carbon. A question we often have is “which mat to choose?“
The strapless practice evokes absolute freedom, freedom of movement. Indeed, there are no foot straps, the deck is clear and it is therefore easier to move and make transitions.
We often advise beginners to start out strapless in order to find the right position.
What is interesting with foot straps is that once you master the practice and your board, you can position them ideally to be sure to be always in the best place. The straps will allow you to start jumping but also to have a better dynamism when pumping.
Equipment
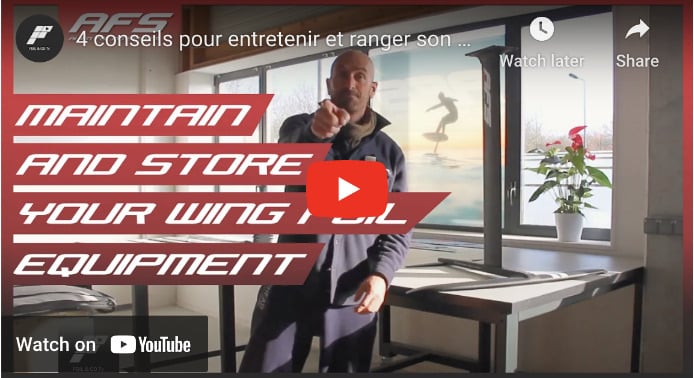
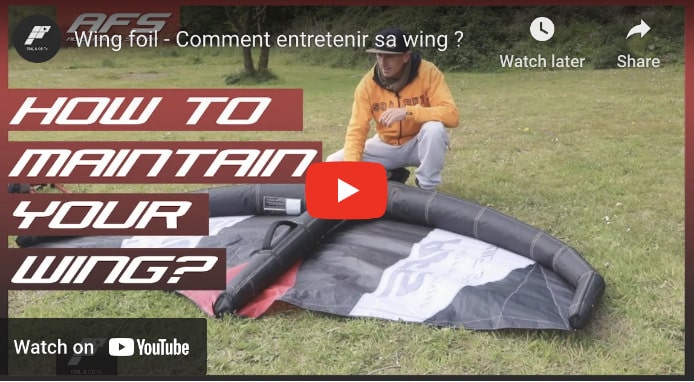
Maintaining your AFS foil is very, very simple. The first question we often ask ourselves is whether we should rinse our AFS foil. At AFS we have always been full carbon. Full carbon means no corrosion or oxidation, no need to rinse your foil, no need to use tefgel. It is only a small rinse with clear water, to remove impurities that may be created by hydrocarbons or algae.
The second question that comes up very often, should you disassemble your foil? Here it’s the same, you can leave your foil fully assembled. The only thing to check, especially when the foil is new, will be the level of tightening of the wings and especially the Tbar for the removable foil. When a foil is new, it fits really hard and therefore after 2-3 hours of sailing, it is possible that it is a little bit loose and therefore you should not hesitate to tighten the screws. Always check.
When it comes to storage, there are several ways to store your foil. It can be stored completely mounted on its board. For this purpose we have made new AFS covers to store the assembled foil and board. Then we have covers for the individual elements.
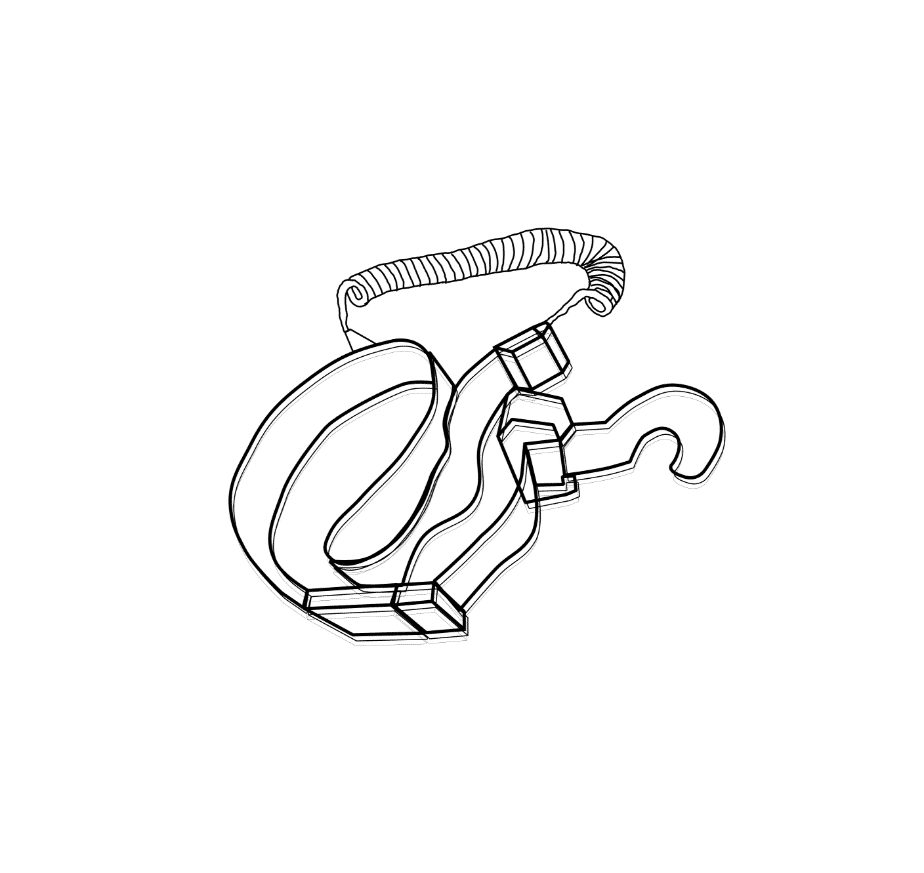
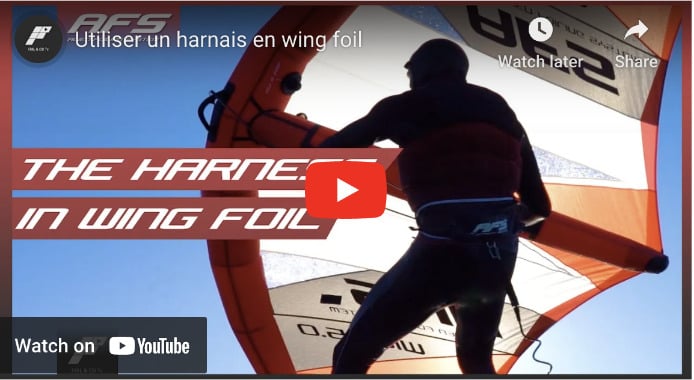
The belt allows the leash to drag less in the water. It also offers the possibility to put a harness hook in wing foil to have more freedom in its movements and in its navigation. A harness will also provide some sort of assistance, on demand, on long freeride runs. It will also stabilize the wing and thus allow to obtain better performances for the windward ascent (less energy lost).
Several types of harnesses exist. The belt harness for kitesurfing or windsurfing with a metal buckle or the lumbar strap with a 3D printed buckle. Because of the lesser pulls than in kitesurfing or windsurfing, we recommend the smaller and cheaper wing harnesses. Also, due to the many falls in wing foil, the 3D printed loops will be less likely to damage the board when you get back on it.
We opted for a model with a really suitable design. More than a simple belt, we wanted a wider design all in neoprene to cover the whole surface of the lumbar. The belt simply closes with a stainless steel buckle. Several loops all along the belt allow to attach the board leash, the wing,…It is possible to pass in the strap a harness loop. Finally, on the back of the belt, we have chosen a large pocket with a zipper to carry, for example, a screwdriver and wedges to adjust the foil, or cereal bars, a waterproof cell phone, a small radio, it’s your choice.
On the leash, called accordion, the main advantage is to have a leash, which even hung at the ankle, does not drag in the water.
Before the session
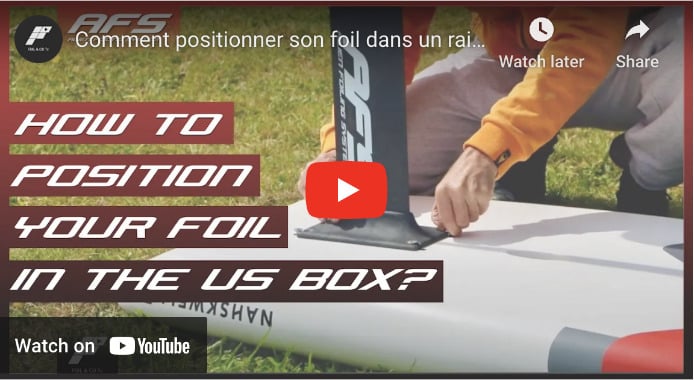
The more advanced the foil, the more power it will offer.
A larger size will then compensate by moving its foil forward in the boxes.
In low rpm, under canvas, soft waves, low speed, you can move the foil forward to get more lift.
If the foil is ejecting and forces you to press too hard on the front leg (lighter weight, high speed, stronger wind…) you have to move the foil back in the boxes to get more control by reducing its power.
It is also possible to play on the dynamic behavior of its foil. We can make the foil more powerful by using a wedge to kick its stab and compensate by moving the foil back to control it. This can bring pumping or energy in the jumps! A rather forward foil will offer a lot of maneuverability. Associated with a stab kick, we optimize the reactivity in the low speeds.
In foil, the game of adjustments is almost endless. It’s all about finding the right one for each individual and the conditions of the day. There is no single setting!
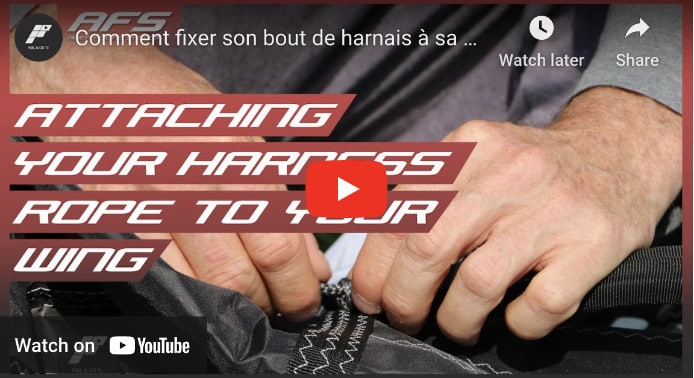
In the pack, we offer a single harness end of about 80 cm for small and medium sizes. For larger sizes, we have a pair of 16 cm extensions that can be mounted on the end with the lark heads. To do this, simply make a loop, pass the knot through the loop and tighten.
On the central flange, there are two small heads protruding. The same manipulation as for the extension cords must be done: make a small loop to make a lark’s head, pass inside the loop and tighten the small knot which exceeds. Do the same on the other side.
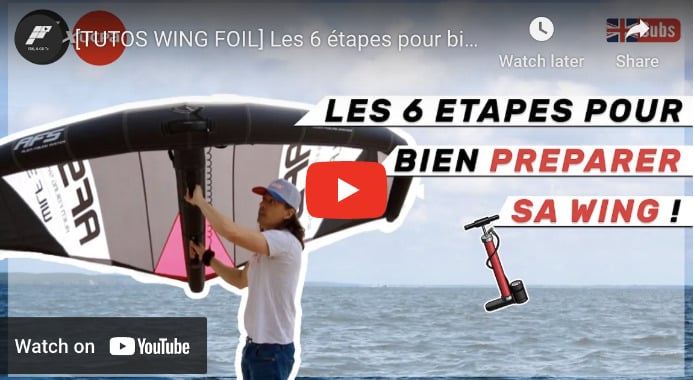
Be sure to open the wing bag so that you don’t pull on the wing and risk getting it stuck in the zipper.
Put your wing on the ground and unroll it: first the central flange, then one ear after the other. Place each part flat.
Once the wing is unrolled, a gust of wind is enough to make it fly away at the risk of damaging it. To avoid this, take the leash from the kite and jam it under the pump before inflating.
Take the tip of your pump and insert it into the valve on the bladder. For more security, if your pump has a leash, you can attach it to the handle of the kite.
To inflate the wing effectively, give it a few pumps to shape it (do not inflate it all the way in right away). To place the sleeves properly, you can lightly tap the socks, this will allow them to inflate properly. Then finish inflating to 6-7 PSI.
After the wing is well inflated, you can disconnect the pump and close the valve.
A beginner will prefer conditions with a headwind, also called sea wind. Indeed by drifting, the practitioner will naturally return to the beach.
The onshore wind is reserved for experienced riders who know how to ride upwind. Indeed, the wind will take you offshore and it will be much more complicated to get back on board.
At the beginning of navigation, for beginners, favour small tacks. This allows you to adjust your equipment but also to anticipate its drift and analyze its position. If we manage to stay on a small tack, a beam, it means that if we go further we should be able to go upwind. So to avoid surprises, start with small edges.
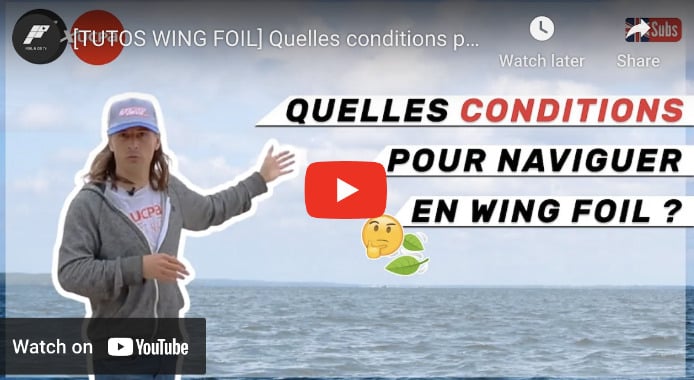
First, we can observe the wind direction and its regularity. Indeed, on a body of water, depending on the surrounding landscape (mountains, buildings), the strength of the wind can vary. A “blank” spot will allow to have a regular wind in space. This is ideal because you don’t have to worry about your position on the water. A “crowded” spot can lead to areas of slope. The wind will be irregular in space. This can be read on the water with light and dark areas. It is better to go for dark areas, where there is wind. And inevitably, we will try to avoid the clear zones, zones of calm. An irregular wind is more complex and will require observation of the water. You will have to turn around, observe, turn back and look for the dark areas. This requires a more advanced level.
The force of the wind can be observed on the water with the formation of small sheep: the foam. When you start to see little sheep appearing, it means that there are about 10 knots of wind (18 km/h). Of course, the more sheep we observe, the stronger the wind. Ideally, you should start with a minimum of 12 – 14 knots, which allows you to balance with the force generated in the wing.
The direction of the wind will also give us the direction of drift. Indeed, once on the water, you drift in the direction of the wind. To give you an image, it is a large conveyor belt on which we will unroll from the top to the bottom. The stronger the wind, the faster the belt goes, and the less wind, the slower the belt goes.
Knowing the direction allows you to anticipate the drift, we talk about safety margin: I know that I may end up far away so I take a small safety margin. That is to say, you have to walk with the wind (go up to the top of the mat) and, when you drift, you will fall back on your starting point.
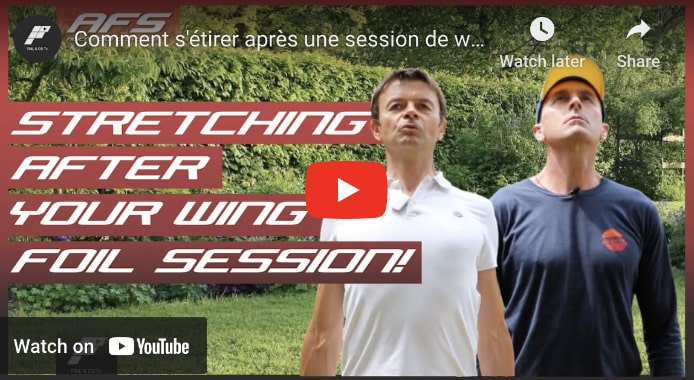
Don’t pull or look for pain in stretching or warm-ups. If you feel any pain, stop the exercises and consult a doctor or Alban (physiotherapist)!
Remember to breathe well during the stretch. Breathe in slowly as you move and breathe out as you release.
Hydrate yourself! Hydration occurs throughout the day but after the session, the body has sweated and may be a little dehydrated. So remember to bring water for before and after the session.
For stretching, take your time and to relax, break down the movement in the opposite direction.
After the session
Ideally, after your session, to dry your wing we advise you to leave it inflated. If for some reason you can’t do that, don’t hang it by its handle. Indeed, when the wing is deflated, if you let it hang too long by the handle, the deflated central bladder may twist on itself and bring some complications when re-inflating the wing. We explain how to avoid this scenario.
If you inflate your wing with as much pressure as possible at one time, it can create a fold or hernia that can burst. To prevent this phenomenon, when you reinflate, before applying maximum pressure, take care to check that the bladders are well in place.
So when you inflate, start sending a little pressure into the bladders to give the wing its shape. Then, before applying more pressure, lightly tap the socks so that they settle back into their sheaths. And only then can you put the proper pressure.
At AFS Foils we mentioned 6 PSI on the bladder, in reality we have taken a little margin and the ideal inflation is 7 PSI on our wings.
The last step is to put the wing in its bag. It’s simple, unscrew the valve and let the air out. Then roll up one ear, then the other, to the center pudding.
By doing so, you are taking care to keep your center pudding securely in its sheath. Depending on the size of the wing, we will make 2 or 3 folds before putting it in his bag.
Find a repairer of wing foil AFS
With more than 13 years of regular practice of Kitesurfing, including 8 years in Kitefoil, Damien Sorlin, world champion in skydiving in 2006, 2008 and 2010, is now a leading repairer for all that touches the spinnaker fabric. His expertise and mastery in the field of repair and maintenance of skydiving equipment led him naturally to apply his knowledge of maintenance to kitesurfing wings, wing foil, … Workshop located in the High Alps but sending possible.
Even though the equipment has become ultra efficient, the unbreakable glider is far from being invented and an accident can happen quickly. Sometimes times are hard, it is not so rare that our attempts at exploits end in disaster: an unfortunate passage in a shorebreak, the meeting of a kite with a palm tree or with a rock well placed… Many events all too common which make that the day’s outing which was announced perfect ends with an unfortunate “I broke my sail!” The goal of this sailmaker specializing in repairs is therefore to offer you a complete and fast service so that your equipment lasts as long as possible. From the preventive repair of a small snag to the rescue of a sail cut in two, Fabien repairs everything! Workshop located in Finistère but possible sending.
Specialized in the manufacture of the strongest kitesurfing and wingsurfing bladders on the market.
On the leash, called accordion Discover through this explanatory video how to change the batten bladder of your wing step by step.
Beginner tutorials
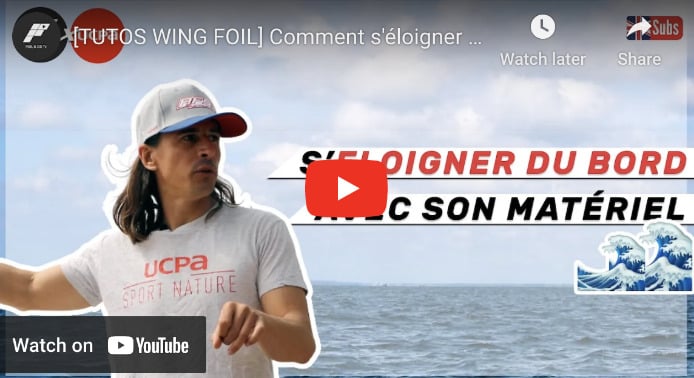
To get away from the shore, we recommend that you tie your board and wing leashes before going in the water. Then, turn the board over on the water to position the foil towards the sky. Use it to move forward and away from the shoreline while keeping your wing out of the way to prevent it from getting caught in the front wing or stabilizer.
Once the water reaches your belly, you can turn the board over and get on it on your knees. The ease with which you can stand up will depend on your board.
The larger it is, the more stable it is. On a board larger than 100 liters you can stand up straight and then move forward quietly, like a stand up paddle.
If the board is less voluminous, start on your knees. Be sure to keep the kite high above your head so that it doesn’t drag in the water. As soon as you see the gust coming or feel the pull, press the kite down on the water, and give a push to raise the front leg and then the back leg.
Once you’re up, you need to master the wing. To keep the wing elevated, remember to keep your front hand above your back hand. The kite is curved and just needs to pivot on its shaft, if you put your hand down it will turn down and throw you off balance.
If you feel that you are gaining too much speed and/or are off balance, release the back hand while keeping the front hand up.
To turn if you don’t fly completely, use the leading edge. Move your hands: the back hand takes the place of the front hand, and the front hand rests on the leading board. At this point, push the kite backwards to rotate the board and retrieve your kite and place it into the wind.
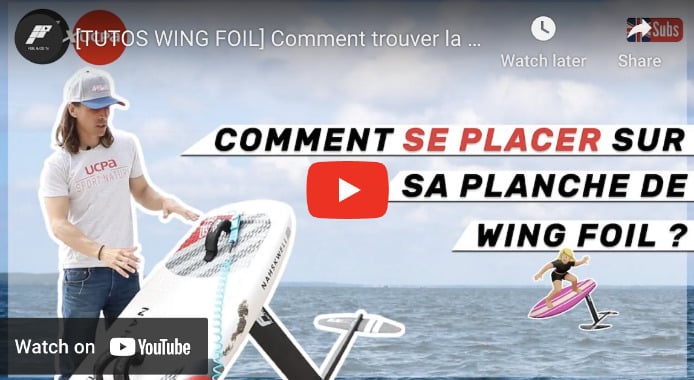
To trigger the takeoff of the foil, the placement of the feet is important. If you place your feet on the front of your board you will not fly because the weight is not distributed properly. However, this technique can be interesting when you want to return to the shore or when you are overpowered in a strong wind.
To take off, you’ll need to move your back foot back and look for the sensation of camber. At this point, you will need to shift your weight back to the front so that the board sits horizontally. If you are a beginner in foiling, try to do “touch and go”: take off and put back the board on the water several times for a few meters. This technique allows you to learn how to regulate the flight.
Stabilizing your position also requires you to use your eyes. By fixing a point in the distance you will stabilize your position a little more. Avoid looking at your feet, always look at where you want to go.
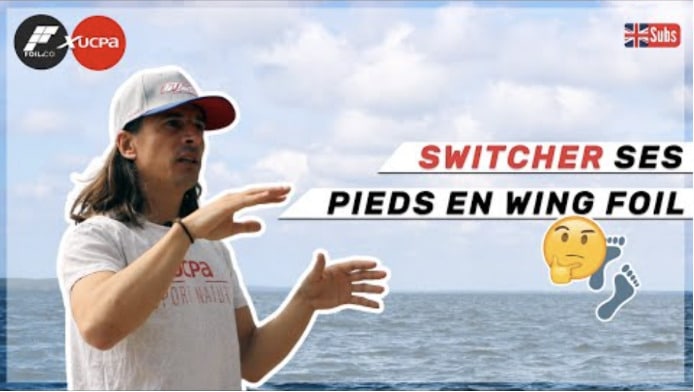
When sailing with a wing foil, you can make your foot change before or after the maneuver. Everyone has their own preference and it may depend on whether they are comfortable in goofy or regular. To switch your feet before or after the maneuver, you should already raise the wing in order to get a good visibility and check that nobody is behind. Safety first! Then, you must anticipate the fact that when you change feet, the board will tend to land on the water again. So you will try to give a little pumping just before switching to make the board take off again and be higher on the water. The inversion movement is done either one foot after the other or if you are comfortable, by doing a jump. At this point, the back foot will take the place of the front foot. At the flight path level, the board will want to land again at the end of the foot change. It will therefore be necessary to relaunch quickly to resume a more stable flight to complete its maneuver. Use your gaze to try to block your position. Aim one away and avoid looking at your feet!
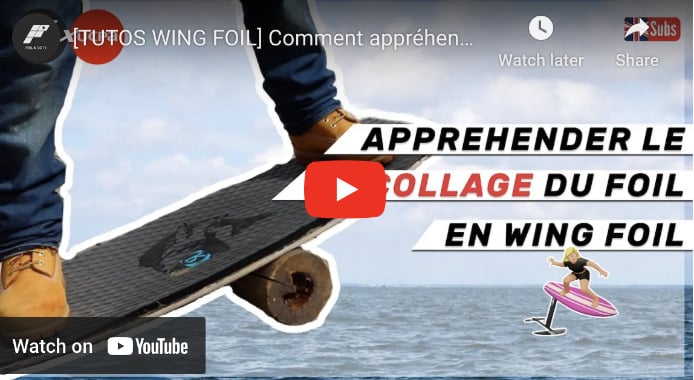
To take off in foil, speed is essential. If you are not moving forward, or at very low speed, the foil will have no lift and will not fly you. Find the windy areas and master your wing to gain speed!
Once you have gained enough speed, you will get a pitching sensation on the front of the board. Indeed, the foil will want to take off and go back to the surface. You will have to let it go up and find the right moment to shift your weight to the front of the board to lower the nose and make the tail rise. At this point, the foil will have lift and you can fly.
Once you get the feel for it, you can do touch and go to practice. That is, you will take off, put the board back on and take off again, etc.
Once you have mastered this, you will need to find the right position to stabilize the board in flight.
Intermediate Tutorials
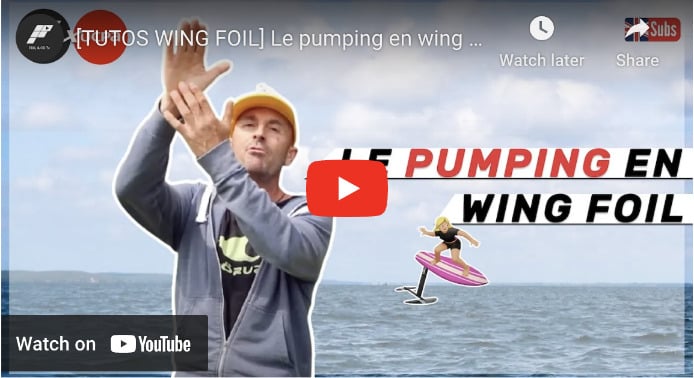
The technique will differ depending on the material used. Indeed, if you use a big foil with a long fuselage, the pumping will be more focused on inertia with a lower frequency. On the other hand, if you use small wings and a short fuselage, you will have to bring some cadence, some frequency.
Once you get the feel of it, you can do touch and go to practice. That is, you will take off, put the board back on and take it off again, etc.
When you are in control, you will have to find the right position to stabilize the board in flight.
With pumping, you have to make sure that the flows, that the glide is optimized. It is thus necessary to carry out the movement well even if it means going slower, rather than seeking speed by carrying out a bad pumping.
Try to be light, let the foil go up and down, it will accelerate by itself. You have to lighten up and let it accelerate. So you have to push on the back leg to make the board pitch up and put weight back on the front leg to bring lift to the foil and to take off or stay in the air.
As you can see, the technique depends on the equipment and the cardio. It takes practice to get there, but to stay in shape and perform in wing foil, play sports!
1 – Secure the maneuver by raising your wing or looking through the window to see if there is room to jibe.
2 – Reduce your speed so as not to arrive too quickly in the jibe
3 – Start an inward edge, high wing
4 – When you leave downwind, you release the wing
5 – When you arrive in the wind,
The wing must then be taken from the other side. You then have to reverse your hands on the handle while continuing your edge grip, to rebound and take off again. The important thing is to always lean into your turn so that you have a constant edge grip.
Just like the tack, the foot change depends on the feeling. It can be done before the maneuver, or after.
To carry out a tack, the important thing is to maintain a good lift at the foil level while trying to go upwind. You must therefore place your wing high and enter a curve with your back to the wind.
In order to maintain lift, it may be helpful to add a little pumping by pressing down on the back foot as you initiate the tack.
The movement of the wing is essential. It’s all about sending your wing over your head at the right time, completely the other way. Once you are facing the wind, you have to keep the curve.
Of course, you must not forget to concentrate on your support so as to continue to close the turn, to go and recover your wing on the other side and relaunch. The important thing is to keep your edge hold (curve) so that you don’t risk going back the other way. To avoid this, you must lean slightly into your turn.
There are two ways to approach the change of foot and it will depend on your “strong” side, the one where you are most comfortable. The first technique is to switch feet before the maneuver and the other after the maneuver. You may feel more comfortable changing your feet after the maneuver, on your strong edge. But it depends of course on your own feeling, you have to test to find your technique and fall less often.